Introduction
A beautiful bow and a thoughtful tag can turn even a simple gift into something special. You don’t need expensive supplies or crafting skills to make them look professional. With a few clever techniques, you can create bows and tags that look handmade in the best way—personal, elegant, and full of charm. Here’s how to make perfect gift bows and tags at home, using affordable materials and easy methods anyone can master.
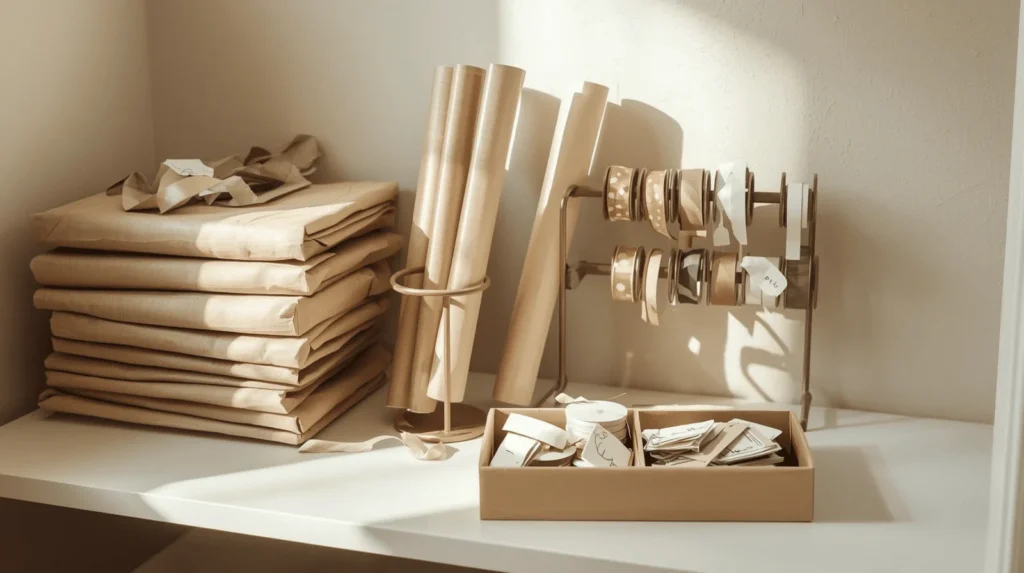
Step 1: Gather Your Supplies
Before you start, gather what you’ll need. Most of these items are inexpensive and easy to find:
- Ribbon (satin, velvet, grosgrain, or fabric)
- Scissors and double-sided tape
- Kraft paper, cardstock, or leftover wrapping paper
- Hole punch and string or twine
- Optional: glue gun, glitter, or stamps for decoration
Set up a small wrapping station so everything is within reach.
Step 2: Choose the Right Ribbon
Different ribbons create different effects. Satin ribbon gives a smooth, glossy look that feels traditional. Velvet adds a rich, luxurious texture. Grosgrain ribbon is sturdy and looks crisp, while fabric or lace ribbons create a softer, rustic vibe. If you’re on a budget, you can even cut strips of fabric or tulle instead of buying new ribbon.
Step 3: Make a Classic Loop Bow
The classic loop bow is simple and elegant.
- Cut a length of ribbon about 24 inches long.
- Form two loops like bunny ears.
- Cross one over the other and pull it through the loop.
- Tighten and adjust the loops until they’re even.
- Trim the ends at an angle for a clean finish.
Attach your bow with double-sided tape or tie it directly onto your wrapped gift. This style looks great on any size package.
Step 4: Try a Multi-Loop Bow for Bigger Gifts
For larger presents, a multi-loop bow adds instant wow factor.
- Cut a long piece of ribbon (about 3 feet).
- Wrap it around your fingers several times to create loops.
- Pinch the center and tie it tightly with a small piece of wire or string.
- Fluff the loops out evenly to form a full bow.
- Add a smaller ribbon or twine in the center to hide the tie.
This layered look feels luxurious and professional—no store-bought bow required.
Step 5: Make a Rustic Bow with Twine
If you love the cozy, natural look, try twine or jute instead of ribbon. Wrap it around your gift several times, tie it in a bow, and tuck in a sprig of greenery or a cinnamon stick. The result is simple, sustainable, and perfect for eco-friendly wrapping styles.
Step 6: DIY Paper Bows
Paper bows are easy to make and a great way to reuse leftover wrapping paper.
- Cut strips of paper about ¾ inch wide and 6 inches long.
- Twist each strip into a loop and glue the ends in the center.
- Layer several loops in a circular pattern.
- Add a small paper circle or button in the middle to finish.
These bows are lightweight, customizable, and surprisingly elegant.
Step 7: Add Finishing Touches
Make your bows pop with small extras. Add bells, mini ornaments, or metallic thread for sparkle. You can also spray a light dusting of gold or silver paint for shimmer. Just keep it subtle—less is often more when it comes to wrapping details.
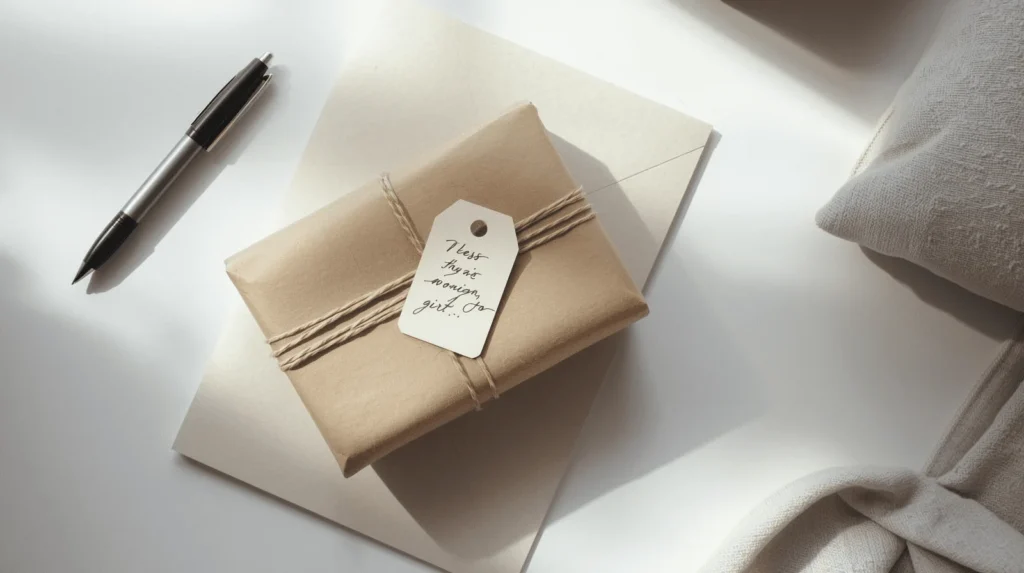
Step 8: Create Handmade Gift Tags
Now that your bows are ready, it’s time to make matching tags. Cut small rectangles or shapes from kraft paper, cardstock, or old greeting cards. Punch a hole at the top and thread twine or ribbon through it. Handwrite your message or use stamps for a decorative look. You can also layer two tags for extra texture—one plain and one patterned.
Step 9: Personalize Your Tags
Add a small personal touch to each tag. Write a short message, the recipient’s name in calligraphy, or a festive quote like “Made with Love” or “Merry & Bright.” For kids, use stickers or mini drawings. For adults, keep it clean and classic. Handwritten details always feel more heartfelt than printed ones.
Step 10: Match Your Bows and Tags to Your Wrapping Theme
To make everything look cohesive, coordinate your bows and tags with your wrapping style. If you’re using brown paper, go for twine and kraft tags. For metallic or modern wrapping, try black, white, or gold ribbons with minimalist tags. Matching materials tie your entire presentation together and make your gifts look professionally styled.
Bonus: Quick Creative Tag Ideas
- Cut tags from old Christmas cards for a nostalgic look.
- Use cookie cutters as stencils for festive shapes.
- Layer two tags of different colors for contrast.
- Glue a small ornament, button, or pine sprig onto the tag.
- Write names in white gel pen on dark cardstock for a chalkboard effect.
These small details are what make your gifts memorable.
Tips for Perfect Results
- Keep ribbon ends clean by cutting them diagonally.
- Use a glue gun for stronger holds on large bows.
- Practice once or twice before wrapping day—it’s easier than it looks.
- Store your handmade bows flat to keep them from squashing.
- Save leftover materials for next year’s gifts.
With a bit of planning, you’ll have everything ready for stress-free wrapping.
Conclusion
Learning how to make perfect gift bows and tags at home is one of the easiest ways to elevate your Christmas wrapping. You don’t need fancy tools—just creativity and care. Whether you choose satin, twine, or paper, your handmade bows and tags add a personal, heartfelt touch that store-bought ones can’t match. This year, make your gifts stand out under the tree with your own finishing touches of festive flair.